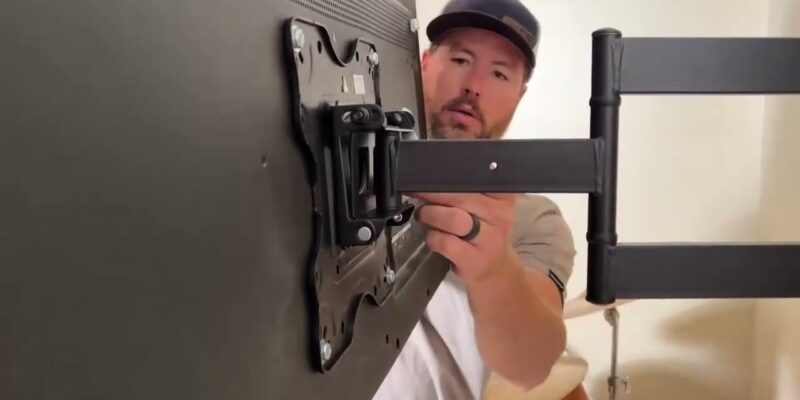
TV mounting has become an essential part of modern home entertainment setups. Whether you’re upgrading your living room, creating a cozy bedroom cinema, or setting up a sleek office presentation space, mounting your TV offers numerous benefits. In this blog, we’ll explore the advantages, tips, and steps to achieve the perfect TV mounting experience.
Why Mount Your TV?
- Enhanced Viewing Experience: Wall-mounted TVs offer better angles and reduce glare for an optimal visual experience.
- Space Saving: Free up valuable floor space by eliminating bulky TV stands.
- Aesthetic Appeal: A mounted TV gives a clean, modern, and minimalist look to any room.
- Safety: Securely mounted TVs prevent accidents, especially in homes with kids and pets.
- Improved Cable Management: Hide unsightly cables for a tidy and organized setup.
Types of TV Mounts
- Fixed Mounts: Ideal for a sleek, flush-to-wall look, perfect for eye-level installations.
- Tilt Mounts: Great for reducing glare and mounting TVs higher than eye level.
- Swivel Mounts: Allow side-to-side adjustments, ideal for rooms with multiple seating areas.
- Full-Motion Mounts: Offer the ultimate flexibility in viewing angles, with tilt, swivel, and extension capabilities.
Step-by-Step TV Mounting Guide
- Choose the Right Mount: Match the mount to your TV’s size, weight, and VESA pattern (screw hole spacing).
- Find the Perfect Spot: Consider room lighting, seating arrangement, and wall type.
- Locate Wall Studs: Use a stud finder for secure mounting on drywall.
- Mark and Drill Holes: Accurately measure and mark where the bracket will be attached.
- Attach the Mount: Secure the mount to the wall and double-check for stability.
- Connect Cables: Plug in power, HDMI, and other cables before attaching the TV.
- Mount the TV: Carefully lift and attach the TV to the bracket, ensuring it clicks securely in place.
- Adjust for Viewing Comfort: Tilt or swivel as needed to achieve the best viewing angle.
